This last Christmas I was given a slew of baking and cake decorating tools (hooray!), and among them was a
rolling pin from the
Little Venice Cake Company line of tools. I'd been itching to try it out, though not to the extent that I wanted to make a buttercream cake that I could layer the test-rolled fondant over (because everyone knows that you can't roll fondant without using it to cover something). Rolling marzipan was an alternative, but my default with marzipan is to make a princess cake, and I felt like something different. I decided on a chocolate orange loaf cake with orange mascarpone frosting, covered with marzipan.
In retrospect, it sounds like a bit much. I meant well.
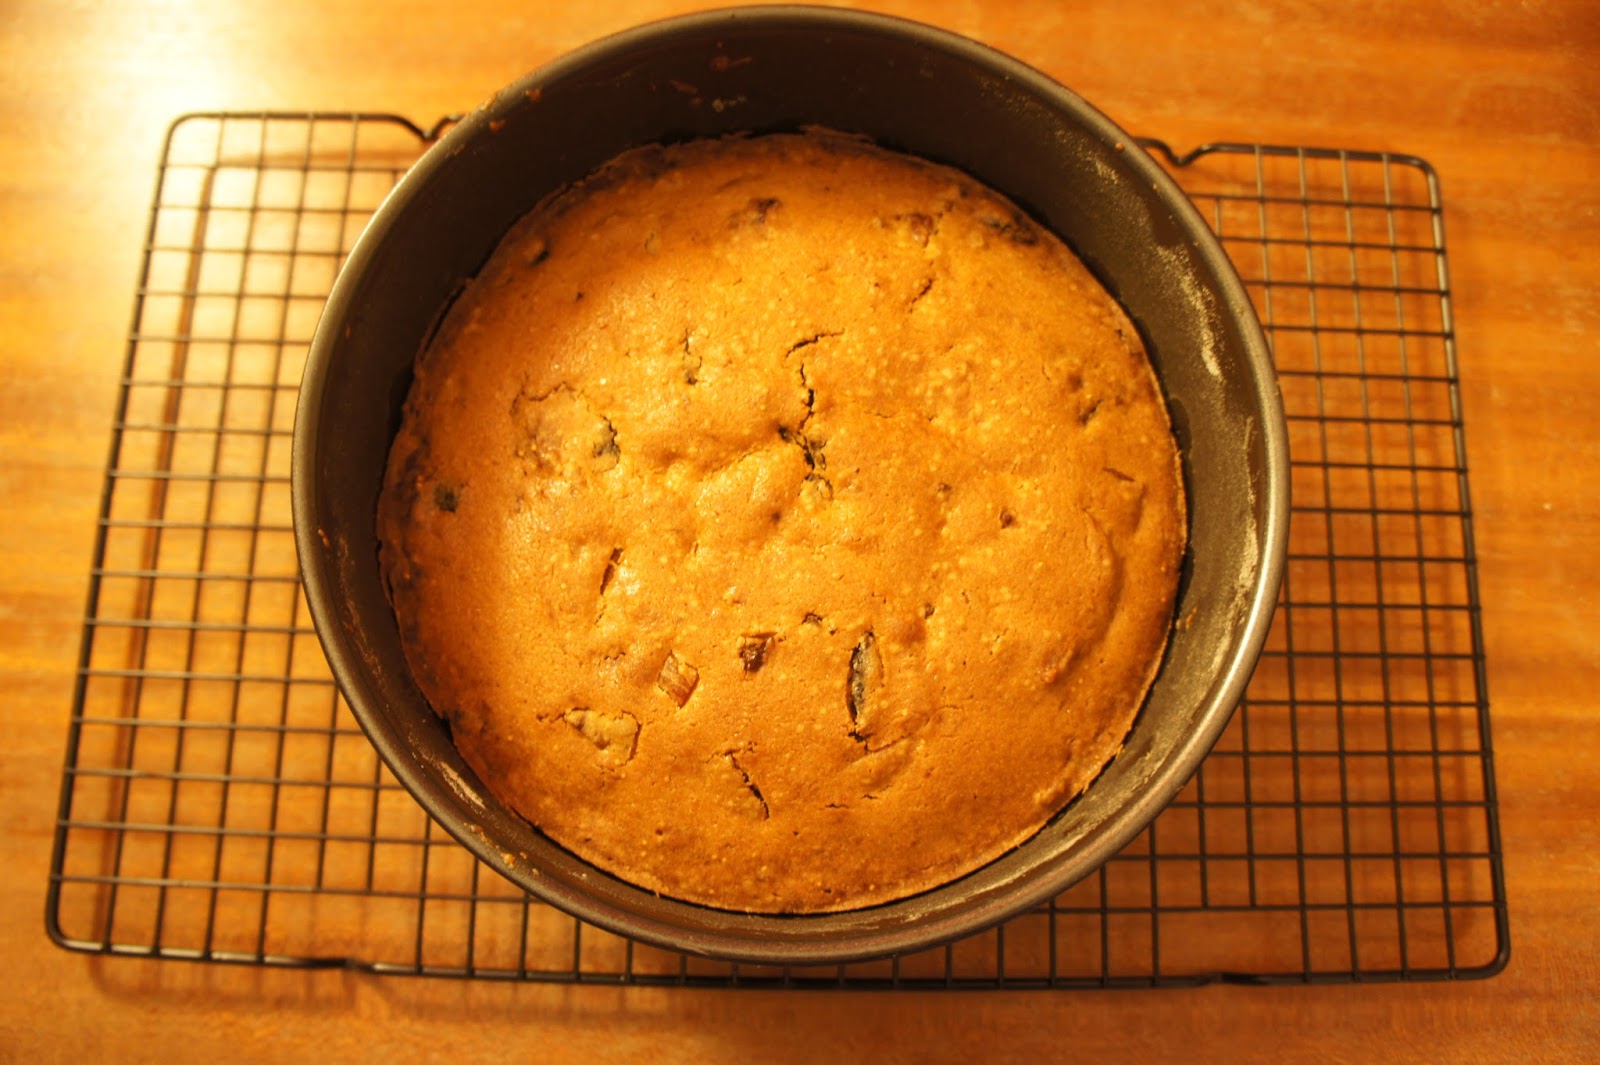
The cake wasn't bad, but it also wasn't my best. The sides of the cake itself came out quite tough, although they were not burned. I didn't feel as though I had it in the oven too low for too long, but that seems to me the most likely explanation. To top it off (*ba-dum ching!*), I made the frosting too sweet for my own tastes and it may have been better with a layer of marzipan on the top only, rather that covering the entire cake.
So, now that I've sold it!...
The recipe that I found for the cake appears on
Better Homes and Gardens, but is duplicated
here, with the credit going to Nigella Lawson. I suspect that Nigella's cookbook is the original source since the recipe calls for golden syrup, which to my knowledge isn't terribly common in American recipes. It also calls for dark brown sugar, but I used light brown because that's what I had on hand. My adaptation can be found in the
Recipe Box.
I got as many lumps out of the brown sugar as possible first, then beat it into the butter before adding the golden syrup. After beating in the golden syrup, I added the combined dry ingredients. I had already zested two clementines and set that aside.
The zest and squeezed orange juice are meant to go into the batter last, though now I'm struggling to remember if I mixed those in before the eggs. If so, I was probably trying to lessen the amount of time the eggs were beaten in an attempt to stop the cake from sinking in the middle (see below, and note: it didn't work). The recipe also says the batter may look curdled; I didn't find that, though it didn't look wholly appetizing...
Fortunately it didn't bake ugly. The blogger writing about
Nigella's recipe said to expect a dip in the centre of the cake -
that it even appeared that way in the cookbook - so I was unsurprised
to find one in my bake.
The mascarpone frosting experienced a similar transformation from
yuck to yum. When I was imagining this cake, all I really wanted to do
with the mascarpone was to add some orange zest and juice to it (and it is this version that I've added to the
Recipe Box).
Unadulterated mascarpone tastes to me like cream: smooth, heavy,
spreadable whipped cream. I thought adding a flavour to it would be
enough, but in checking how other people make this type of frosting I
found that either
heavy cream or
butter is almost always added (depending upon the desired consistency and weight -
Martha even adds cream cheese), and so is powdered sugar. This
recipe
from The Hairy Bikers was the only exception, but in the face of all
the others I thought I'd better add something, and since I hadn't checked
the recipes prior to shopping and butter was all I had, butter it was.
I beat the butter first, and added the zest and juice to that before
mixing in the mascarpone. It looked gross.
Combining
the beaten butter with the mascarpone drastically improved the
frosting's appearance. Mascarpone is temperamental, however, so be
careful not to over-mix; this temperament is why I chose to mix the
orange with the butter first.
I
spread a thick layer of the frosting over the top of the cake, and then
domed it like an elongated princess. I liked the look; this cake may
have been more successful aesthetically than it was taste wise.
Returning
to the reason for the cake: the rolling pin. My sister, who had used
one of these rolling pins before, warned me that the marzipan (or
fondant, whatever is being rolled) needs to be very level; any bumps or
unevenness will result in the pattern transferring to some areas (the
higher ones), but not to all of them. This makes the rolling pins
somewhat less convenient than the
texture sheets
that you can buy to similarly impress images onto fondant/marzipan, but
which, since they are flexible, adapt to lumps and bumps. That being
said, ideally the fondant/marzipan will be level anyway and so there
shouldn't be too many problems.
I
chose to use white marzipan for this experiment, rather than the
natural off-white to slightly yellow coloured variety. As seen in the
photo, the pattern is visible, although perhaps not as visible as I
would have liked. I tried to highlight it by brushing it with some
white but sparkly lustre dust, but unfortunately this did not have much
effect. I'm not sure if coloured marzipan would have produced better
results (I look forward to further experimentation), but coloured lustre dust probably would have been a better
highlighter. As it was, however, the pattern was very pretty and lent a subtle
elegance. I also did not have any trouble with it disappearing
when I covered the cake.

If
you haven't tried it, there is a lot of smoothing involved in covering a
cake. The bottom edges and corners (if there are any) need to be
gently stretched and fanned out by smoothing so that the
fondant/marzipan covering the sides of the cake does not become wrinkled
or doubled over; all this smoothing and stretching can result in
pattern loss, whether it is a depressed pattern, as with the texture sheets, or in
relief, as here with the rolling pin. Happily, this pattern survived the process intact.
With the cake covered, all I did was put a bow on it.
And served it, of course.